Welcome to our culinary adventure, where we dive into the comforting world of chicken cobbler—a dish that wraps warmth and satisfaction into every bite. This versatile recipe has evolved across kitchens, garnering praise for its simplicity and delicious outcome. Here, you’ll not only learn the basics of crafting this hearty dish but also explore advanced techniques and variations that could transform the way you cook and serve it. From its basic recipe to smart storing tips, we’ve covered everything to make your cooking experience smoother and your meals more delightful. So, preheat your ovens and get ready to stir up some culinary magic with our comprehensive guide to making the perfect chicken cobbler.
Introduction and Basic Recipe
Introduction to Chicken Cobbler
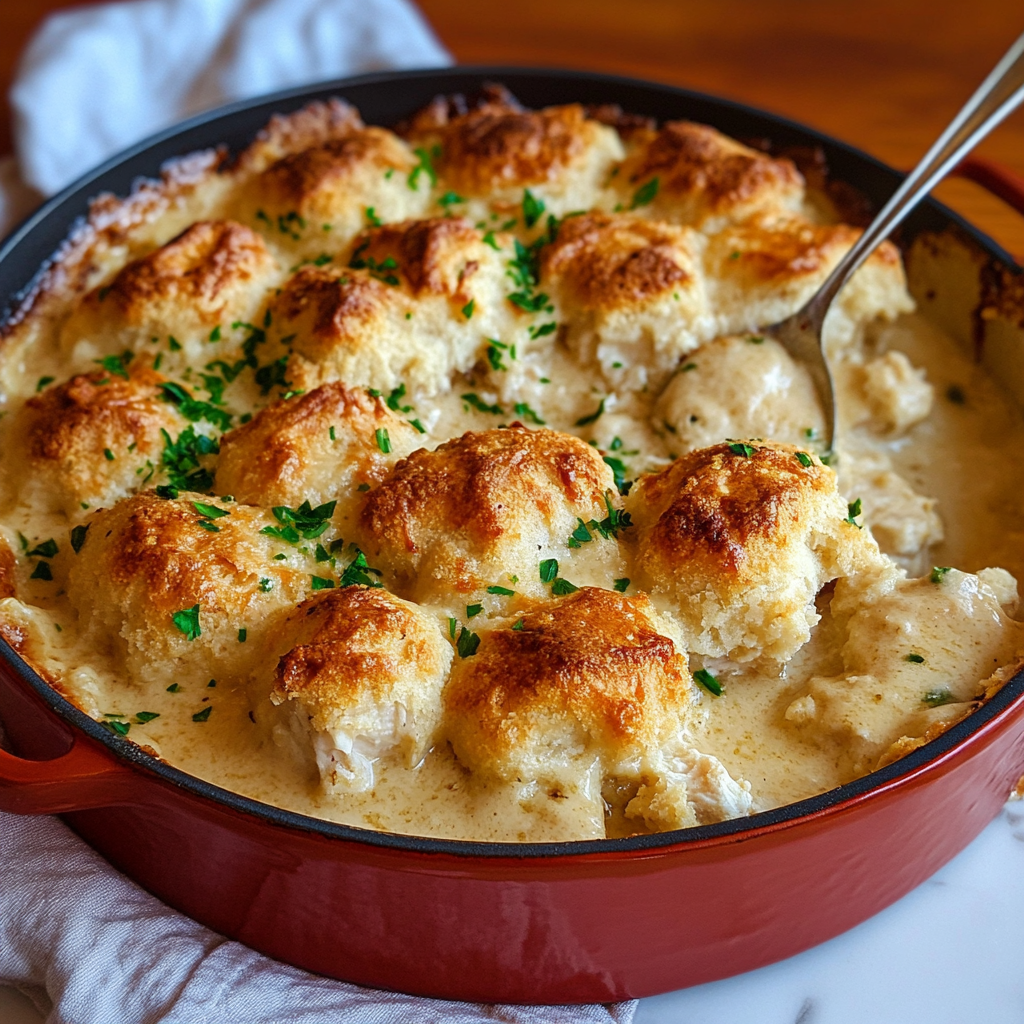
Chicken cobbler, often celebrated for its rich, comforting essence, essentially combines tender chunks of chicken under a blanket of soft, golden biscuits. Originating from the need for hearty meals in cooler weather, this dish has found its way into hearts and homes as a winter favorite. However, its ease and versatility have made it a year-round delight for many.

Basic
To kick things off, you’ll need a straightforward set of ingredients and a simple method to bring this dish to life. Here’s how you can create a classic chicken cobbler that invites smiles around the dinner table:
- Ingredients:
- 1/2 cup unsalted butter
- 4 cups shredded rotisserie chicken
- 2 cups mixed vegetables (frozen or fresh)
- 2 cups milk
- 2 cups biscuit mix
- 1 can cream of chicken soup
- Fresh herbs (optional for garnish)
- Directions:
- First, preheat your oven to 375°F (190°C). Place the butter in a large baking dish and let it melt as the oven warms up.
- Once the butter is melted, spread the shredded chicken evenly over it, followed by a layer of vegetables.
- In a mixing bowl, combine the biscuit mix with milk, stirring until just combined. Spoon this mixture over the chicken and vegetables.
- Pour the cream of chicken soup evenly over the biscuit layer. If using, sprinkle with fresh chopped herbs.
- Bake in the preheated oven for about 45 minutes, or until the biscuit topping is golden and the filling is bubbly.
This basic recipe, while simple, serves as a foundation upon which countless variations can be built. Whether you choose to mix up the vegetables or add different spices, each modification allows you to tailor the dish to your tastes and dietary needs.
In our next section, we’ll delve deeper into the cooking techniques that can elevate your chicken cobbler from simple to spectacular, along with exploring some creative variations to keep your dinners exciting and new. Stay tuned!
Advanced Techniques and Variations
Advanced Cooking Techniques
To elevate your chicken cobbler to a gourmet level, it’s all about mastering the texture and flavors. A flawless cobbler topping is pivotal—aim for a golden, biscuit-like crust that is both tender and crisp. Here’s how to ensure your topping is just right:
- Pre-cooking the base: Lightly sautéing the chicken and vegetables before baking can deepen the flavors.
- Layering ingredients: Instead of mixing, layer your ingredients to create distinct textures and flavors that meld beautifully in the oven.
- Baking tips: Place the dish on the middle rack and check periodically to prevent over-browning. If the top browns too quickly, cover it loosely with aluminum foil.
Employing these techniques ensures that each component of your cobbler cooks to perfection, delivering a dish that’s both visually appealing and deliciously satisfying.
Recipe Variations
The versatility of chicken cobbler allows for numerous adaptations, making it easy to adjust to your dietary preferences or simply to use what you have on hand:
- Gluten-Free Chicken Cobbler: Substitute the biscuit mix with a gluten-free blend and use gluten-free cream of chicken soup. Ensuring that all ingredients are certified gluten-free is key to maintaining dietary safety.
- Dairy-Free Modifications: Opt for dairy-free butter and milk alternatives. Coconut oil and almond milk can offer delightful results without compromising the traditional creamy texture.
- Vegetable Variations: Feel free to swap in different vegetables such as bell peppers, leeks, or fennel for a unique twist. Adding a spicy kick with diced jalapeños or enhancing the flavor with herbs like thyme or sage can also transform the dish.
These variations not only cater to different health needs and preferences but also invite you to experiment and personalize your meals. For more ideas on substitutions and creative additions, consider exploring proper food storage techniques to ensure the freshness and safety of your ingredients.
Next, we’ll explore the best ways to serve and store chicken cobbler, ensuring that every meal is as delicious as it is practical. Whether you’re serving a crowd or saving some for later, these tips will help you make the most of this delightful dish. Stay tuned!
Serving and Storage
How to Serve Chicken Cobbler
Serving chicken cobbler effectively enhances its appeal and makes your meal a memorable experience. Here are some tips to consider:
- Accompaniments: Although chicken cobbler is hearty on its own, pairing it with a light salad or steamed vegetables can balance the richness. For instance, a simple green salad or garlic green beans complements the dish well.
- Presentation: Serve the cobbler hot directly from the oven, with a garnish of fresh herbs like parsley or chives to add a pop of color and freshness. This not only boosts the dish’s visual appeal but also its flavor.
These serving suggestions are not just about aesthetics; they also ensure that every bite is as satisfying as it is visually appealing. Transitioning smoothly to storage, keeping your cobbler fresh and tasty involves a few key strategies.

Storage and Reheating Tips
Properly storing and reheating chicken cobbler ensures that leftovers are just as delicious as when freshly made. Here’s how to keep it in top condition:
- Refrigeration: Cool the cobbler to room temperature before covering it and storing it in the refrigerator. It will keep well for up to 3-4 days.
- Freezing: For longer storage, freeze the cobbler in an airtight container. It can be frozen for up to 3 months. Remember to label the container with the freezing date!
- Reheating: To reheat, thaw overnight in the refrigerator if frozen, then warm in an oven preheated to 350°F until heated through. This method helps maintain the texture of the biscuit topping better than microwaving.
Our exploration doesn’t stop here! Stay tuned for the next section, where we will delve into frequently asked questions about chicken cobbler, providing you with even more knowledge to perfect this delightful dish.
FAQs
Can I Make Chicken Cobbler with Fresh Vegetables?
Absolutely! Fresh vegetables can be a fantastic addition to your chicken cobbler. Just ensure they are chopped to a uniform size for even cooking. Favorites like carrots, potatoes, and green beans make excellent choices. This adjustment not only enhances the flavor but also boosts the nutritional content of your dish.
How Can I Make Gluten-Free Chicken Cobbler?
For a gluten-free version, replace the traditional biscuit mix with a gluten-free alternative and ensure all other ingredients, such as the cream of chicken soup, are labeled gluten-free. This allows everyone to enjoy the cobbler without dietary concerns.
Can I Use a Different Type of Chicken?
Yes, you can use various types of chicken in your cobbler. While rotisserie chicken is popular for its convenience and flavor, you might also use cooked, shredded breast or thigh meat. Even canned chicken can work if you’re in a pinch.
How Should I Store Chicken Cobbler Casserole?
To store chicken cobbler, cool it to room temperature, then refrigerate it in an airtight container. It’s typically fine in the fridge for up to 3-4 days. If you need to store it longer, freeze it for up to 3 months.
Can I Use Different Milk?
While whole milk is recommended for its richness, you can substitute lower-fat milk if you prefer. Keep in mind that the sauce might not be as thick.
How Can I Ensure the Cobbler Topping is Perfectly Cooked?
Monitor the cobbler during the last few minutes of baking. The top should be golden brown and the filling should be bubbly. Letting the cobbler stand for a few minutes after baking will also help the topping set properly.
This section answers the most common questions related to making chicken cobbler, providing you with the tips and tricks needed to ensure success. Whether you’re tweaking the recipe to suit dietary needs or mastering the perfect biscuit topping, these insights aim to enhance your cooking experience. Next, we’ll continue to explore even more about this delightful dish, so keep your culinary curiosity ready!